
Punch needle wall hangings
Make a 160 mm punched picture and display it in a hoop or frame without compressing its looped front.
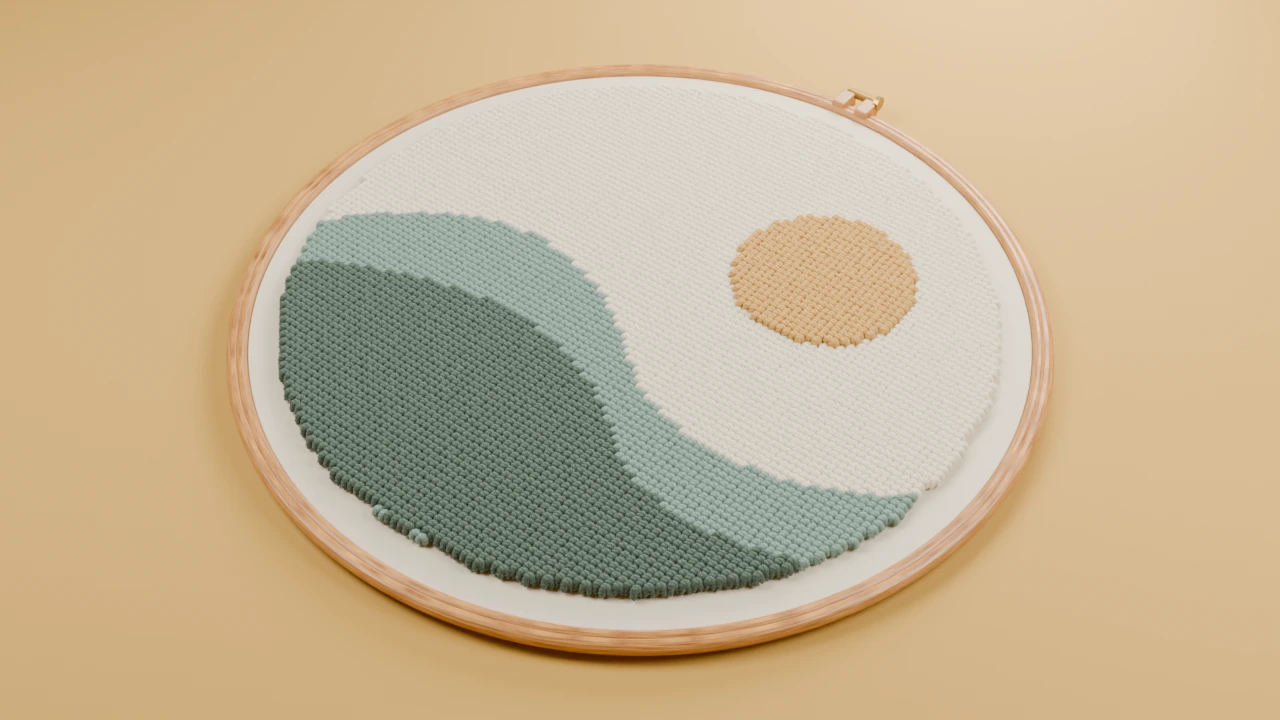
Template and size
160 × 160 mm finished design. Add mounting margins and the sewing allowance given in the steps.
Print the sun and hills pattern at this size, then follow the making and finishing steps below.
Supplies
- Matched needle, fibre and foundation
- A working hoop and display hoop or frame
- Sewing thread and optional felt back
Keep a front-view paper copy and your fibre labels beside the frame. Use spare cloth to check the needle, fibre and foundation before beginning.
Make the project
Choose the face
Use the loop side for raised texture or the flat side for line texture. Select the corresponding transfer orientation before tracing.
Mount and punch
Hold the cloth taut and complete each colour region. Check the front regularly, separating displaced loops as you go.
Set the display edge
Position the picture in the display hoop. Keep the image centred and the foundation's threads square.
Gather the back
Trim the spare cloth to a gathering margin and run a line of stitches around it. Pull it inside the hoop and sew on an optional felt back.
Finish and care
Attach a hanging cord or frame fitting to the holder. Leave the pile clear of glazing or choose a deep frame.
Dust gently and keep the piece away from prolonged direct sun and damp walls.