
Punch needle pillows
Turn a punched 300 mm square panel into an envelope pillow or cushion cover, with a sewing margin and removable insert.
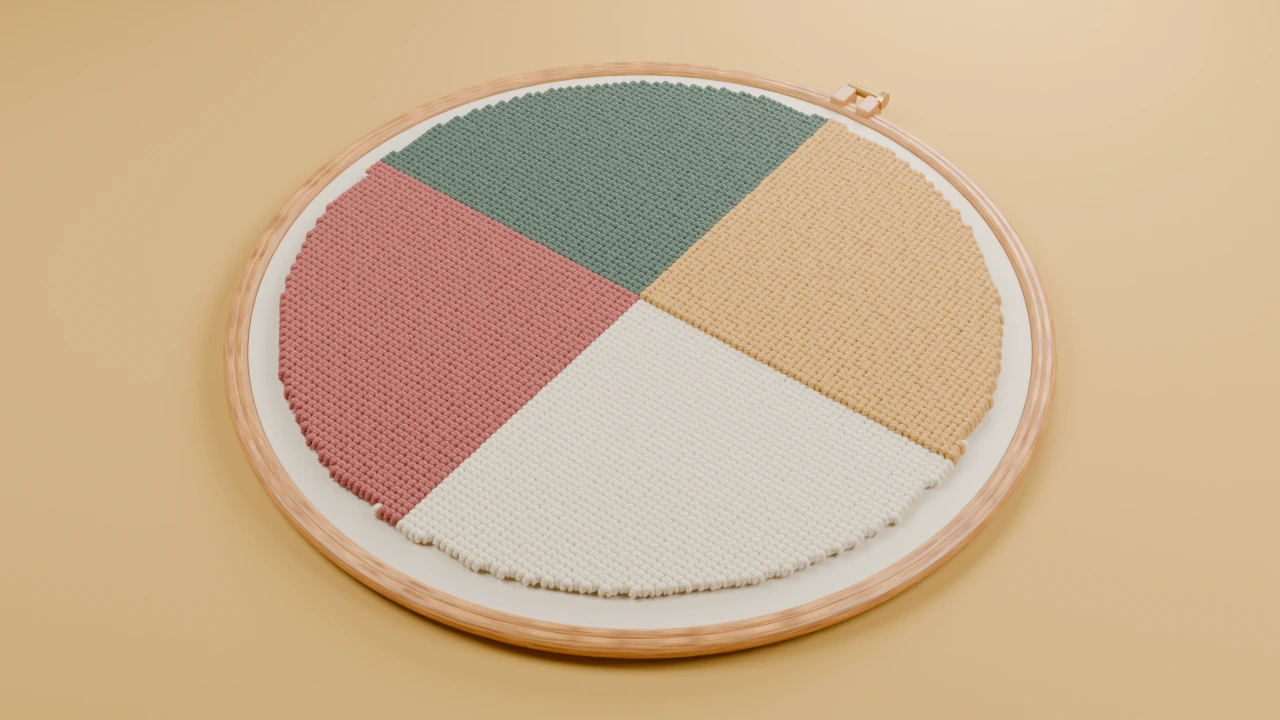
Template and size
300 × 300 mm finished boundary. Add mounting margins and the sewing allowance given in the steps.
Use the full-size cutting outline to plan the panel. Adapt the colour blocks motif inside it, leaving the sewing allowance clear. For a fitted object, measure the actual item and resize the outline first.

Supplies
- Foundation for a 300 mm design plus frame and sewing margins
- Two backing pieces, each 320 × 220 mm
- A 300 mm pillow insert, sewing thread and needle or machine
Keep a front-view paper copy and your fibre labels beside the frame. Use spare cloth to check the needle, fibre and foundation before beginning.
Make the project
Plan the front
Transfer a 300 mm square design. Leave a 10 mm seam allowance outside it and additional cloth for mounting. Keep every loop inside the design boundary.
Punch the panel
Complete the colour blocks. Before removing the panel, check that the square remains square and its corners are not crowded.
Prepare the envelope
Hem one long edge of each backing piece by turning 10 mm twice. Place the pieces right-side down on the right side of the front, with the hemmed edges overlapping in the middle.
Sew and turn
Sew around the outside at the 10 mm seam line. Keep loops clear of the needle. Finish the raw allowance, turn through the envelope opening and insert the pillow.
Finish and care
The envelope opening belongs on the back. Check that the corner loops are free and the opening overlaps without gaping.
Remove the insert before cleaning the cover. Follow the yarn, foundation and backing care labels.