
Punch needle bags and totes
Add a punched 180 × 220 mm panel to a tote or pouch, with a finished edge and attachment stitches through its backing.
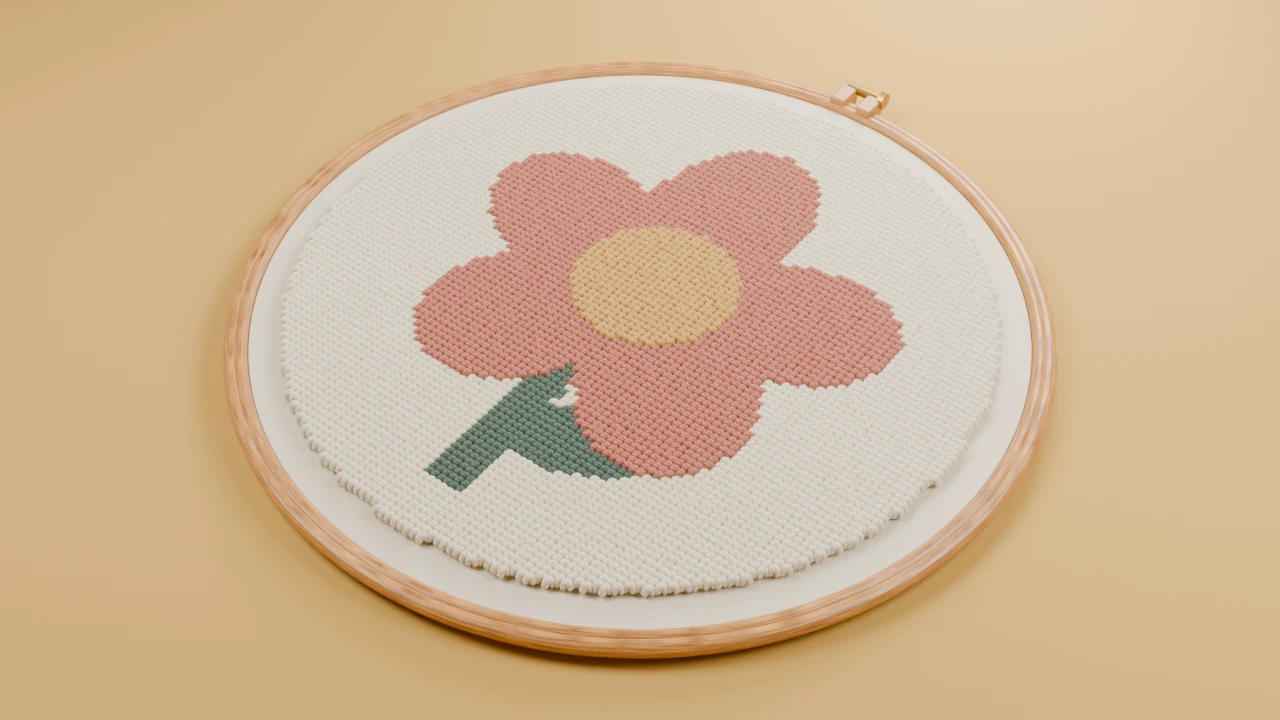
Template and size
180 × 220 mm finished boundary. Add mounting margins and the sewing allowance given in the steps.
Use the full-size cutting outline to plan the panel. Adapt the five-petal flower motif inside it, leaving the sewing allowance clear. For a fitted object, measure the actual item and resize the outline first.

Supplies
- Matched punch needle materials
- A tote with access behind the attachment area
- Backing fabric, thread and sewing needle
Keep a front-view paper copy and your fibre labels beside the frame. Use spare cloth to check the needle, fibre and foundation before beginning.
Make the project
Check placement
Lay the paper rectangle on the bag. Keep clear of handles, pockets and folds; allow the bag to open and lie flat.
Make the panel
Transfer the motif inside the rectangle and punch it on separate foundation. Keep the outer boundary straight.
Finish the edge
Fold the unpunched margin to the back. Baste it, then cover the panel with a fabric or felt backing.
Attach and line
Sew the backing edge to the bag without sewing its front and back together. If the bag has a lining, work before closing the lining or keep attachment stitches between the layers.
Finish and care
Load the tote lightly and check that the panel does not catch at the handle or fold lines. Apply the same panel method to a pouch at a smaller size.
The bag and added panel must share a cleaning method. Keep the panel's fibre label with the bag.