
Punch needle ornaments
Create a 100 mm striped bauble with a covered back and a hanging cord anchored to the backing.
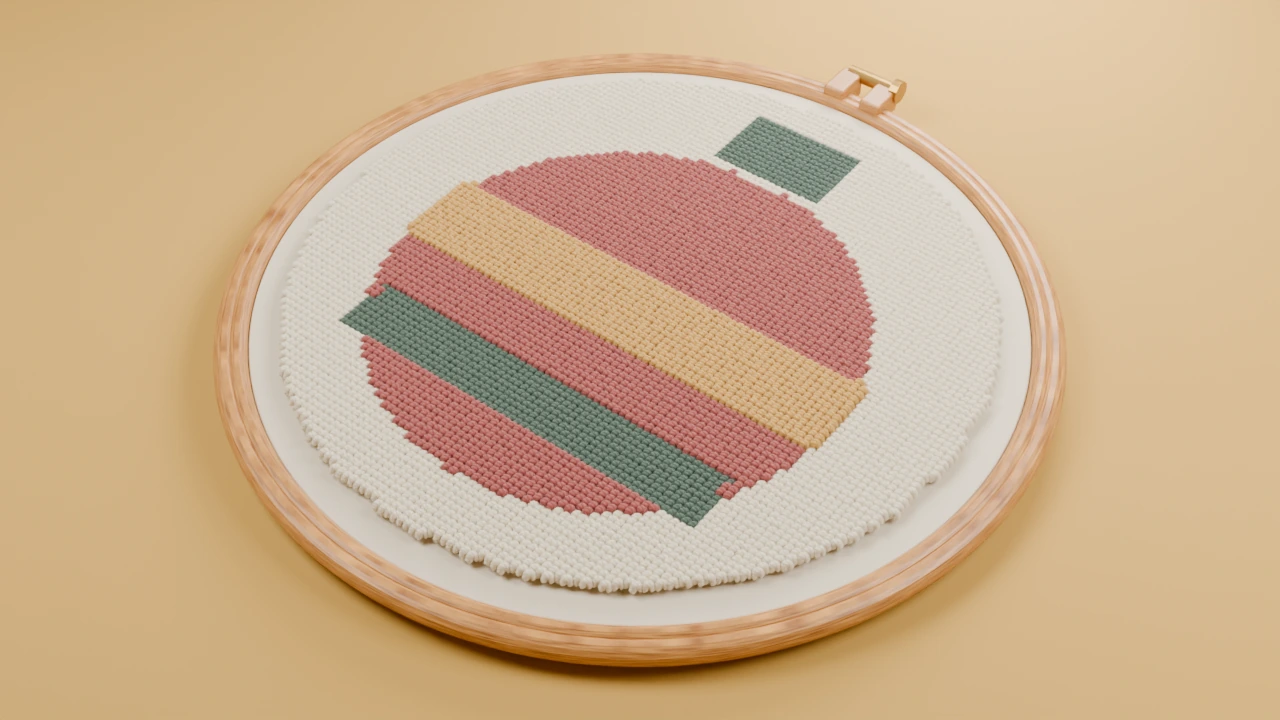
Template and size
100 × 100 mm finished design. Add mounting margins and the sewing allowance given in the steps.
Print the striped bauble pattern at this size, then follow the making and finishing steps below.
Supplies
- Fine yarn or floss with matching tool and cloth
- Felt backing and a short hanging cord
- Sewing thread and small needle
Keep a front-view paper copy and your fibre labels beside the frame. Use spare cloth to check the needle, fibre and foundation before beginning.
Make the project
Print and trace
Use the bauble circle at 100 mm. Trace the mirrored working view if the loop side will face out.
Punch the bands
Work one coloured band at a time. Leave the hanging cord separate from the decorative loops.
Turn the margin
Trim a usable foundation margin and fold it behind the circle. Baste carefully around the curve.
Sew the cord and back
Fold the cord into a loop, place its ends between the backing and foundation, and reinforce that section with extra stitches before closing the felt back.
Finish and care
Give the cord a gentle pull while holding the backing. The attachment should take the load without pulling a yarn loop.
Store without crushing the pile. Keep ornaments dry unless their complete material combination supports wet cleaning.