
Punch needle plush toys
Sew a decorative heart-shaped plush from a punched front and fabric back. The three-dimensional shape comes from the sewn pieces and stuffing.
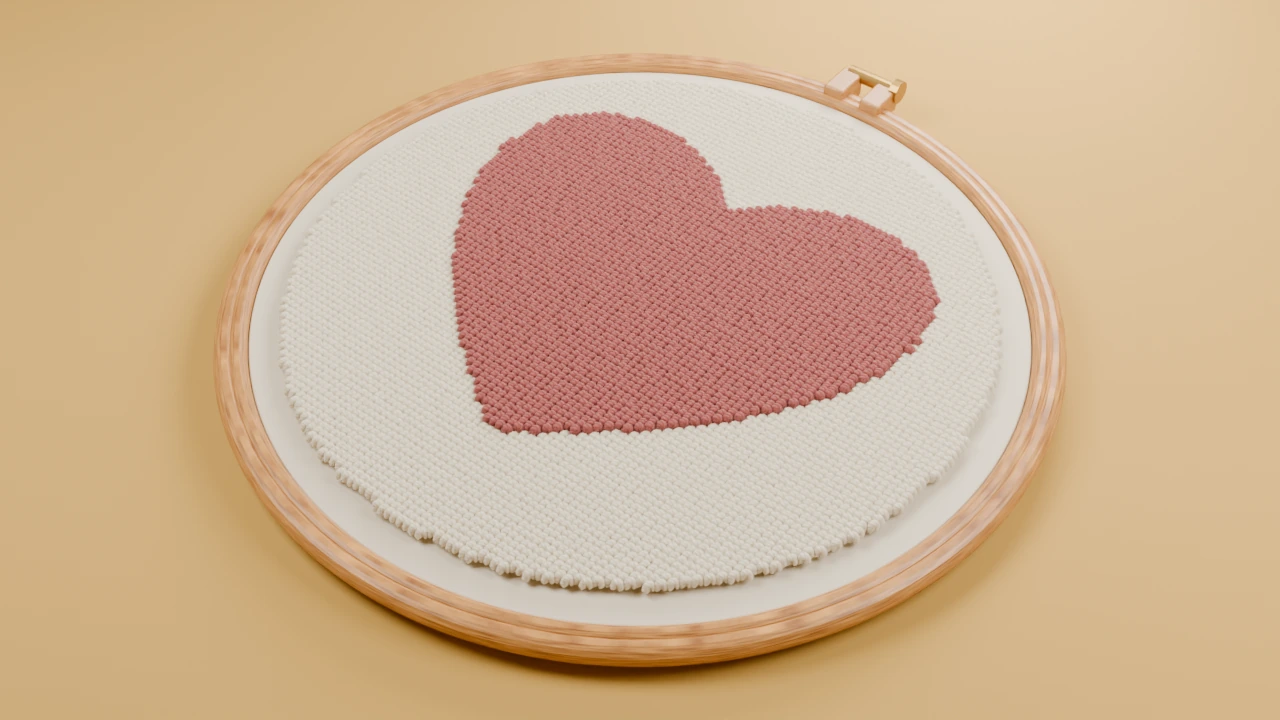
Template and size
180 × 180 mm finished boundary. Add mounting margins and the sewing allowance given in the steps.
Use the full-size cutting outline to plan the panel. Adapt the soft heart motif inside it, leaving the sewing allowance clear. For a fitted object, measure the actual item and resize the outline first.

Supplies
- Punch needle front materials
- Plain backing fabric and stuffing
- Sewing thread and needle
Keep a front-view paper copy and your fibre labels beside the frame. Use spare cloth to check the needle, fibre and foundation before beginning.
Make the project
Plan the shape
Print the heart outline at 180 mm. Mark a 10 mm sewing allowance outside it. Keep the punched loops inside the solid boundary.
Punch the front
Fill the heart with one or two colours. Keep the upper dip open and avoid excessive pile at the point.
Sew the pieces
Cut a fabric back with the same allowance. Place front and back right sides together, sew around the shape and leave a turning opening on a straight section.
Turn and fill
Ease the seam around the dip and point. Turn right-side out, add stuffing gradually and close the opening with small stitches.
Finish and care
Separate any loops caught in the seam. Keep this assembled design as a decorative object; use sewn features rather than loose added buttons.
Keep the back seam accessible for repair. Use a cleaning method appropriate to the yarn, backing and stuffing.