
Punch needle slippers
Decorate a well-fitting pair of slippers with separately made punch needle panels, keeping the original sole and fit.
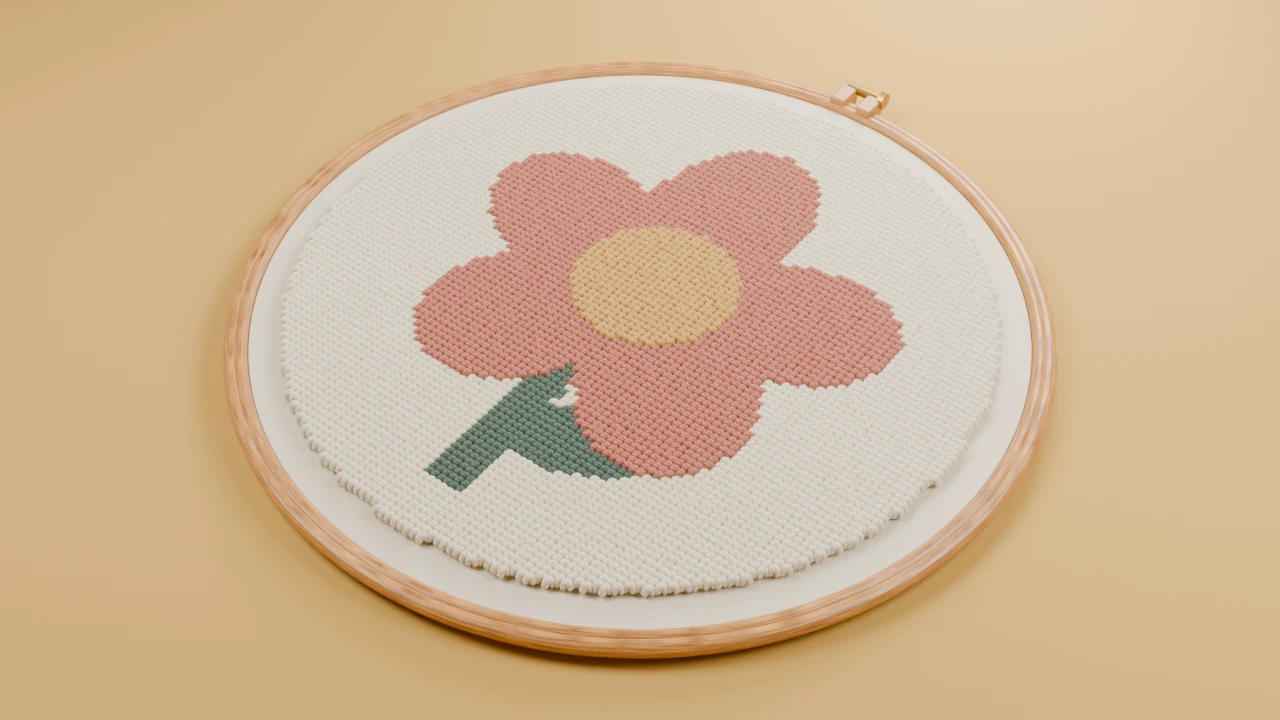
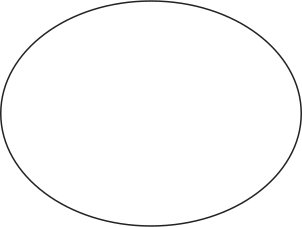
Template and size
80 × 60 mm finished boundary. Add mounting margins and the sewing allowance given in the steps.
Use the full-size cutting outline to plan the panel. Adapt the five-petal flower motif inside it, leaving the sewing allowance clear. For a fitted object, measure the actual item and resize the outline first.
Supplies
- A pair of plain slippers with a sewable upper
- Fine low-profile punch needle setup
- Thin backing and matching sewing thread
Keep a front-view paper copy and your fibre labels beside the frame. Use spare cloth to check the needle, fibre and foundation before beginning.
Make the project
Measure the upper
Lay a paper oval on the upper. Keep it away from the toe bend, opening and seams. Adjust the template to the available area before making two panels.
Punch matching panels
Use a low-profile setup and a simple flower or heart. Mirror the pair if you want the motifs to face each other.
Cover the backs
Fold foundation margins behind each panel and stitch on a thin backing. Keep the edge smooth to avoid a bulky ridge.
Attach outside
Sew the backing edge to the outside of the upper. Do not pierce the floor-contact sole or pull stitches through to a point that rubs the foot.
Finish and care
Try on the slippers and check comfort while standing and walking. The panel should not change the fit or contact the floor.
Clean the decoration according to the slipper and panel materials. Keep the original sole's care instructions.