
Punch needle mirror frames
Create a removable punched textile surround for a mirror frame, with a clear inner opening and attachment to the frame.
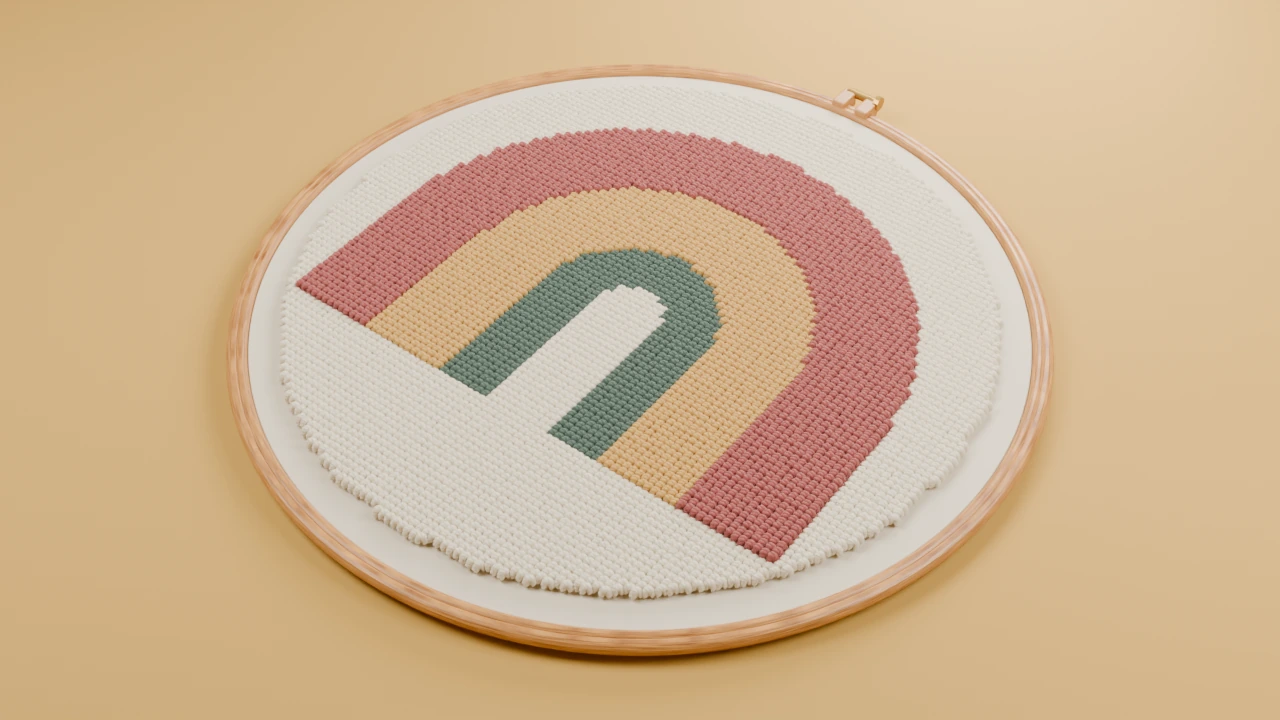
Template and size
240 × 240 mm finished boundary. Add mounting margins and the sewing allowance given in the steps.
Use the full-size cutting outline to plan the panel. Adapt the muted rainbow motif inside it, leaving the sewing allowance clear. For a fitted object, measure the actual item and resize the outline first.

Supplies
- Mirror with a frame and accessible attachment points
- Punch materials and thin backing
- Sewing thread and removable fabric fastening tabs
Keep a front-view paper copy and your fibre labels beside the frame. Use spare cloth to check the needle, fibre and foundation before beginning.
Make the project
Measure both edges
Trace the outer frame and the visible glass opening on paper. The printable ring has a 240 mm outside and a 140 mm opening; resize both to match your mirror.
Plan the bands
Keep the inner and outer boundaries clear. Fill the surround with broad colours, leaving unpunched sewing margins beside both boundaries.
Finish both openings
Fold and stitch the outer margin to the back. Clip and turn the inner margin without cutting the punched edge, then cover the back with a matching fabric ring.
Attach to the frame
Use sewn tabs around the structural frame, keeping the glass and existing hanging fittings clear. Do not use the textile to support the mirror's weight.
Finish and care
Check the visible opening and the mirror's original hanging hardware after fitting the cover.
Remove the surround to clean the glass. Keep cleaner away from the yarn and any backing finish.