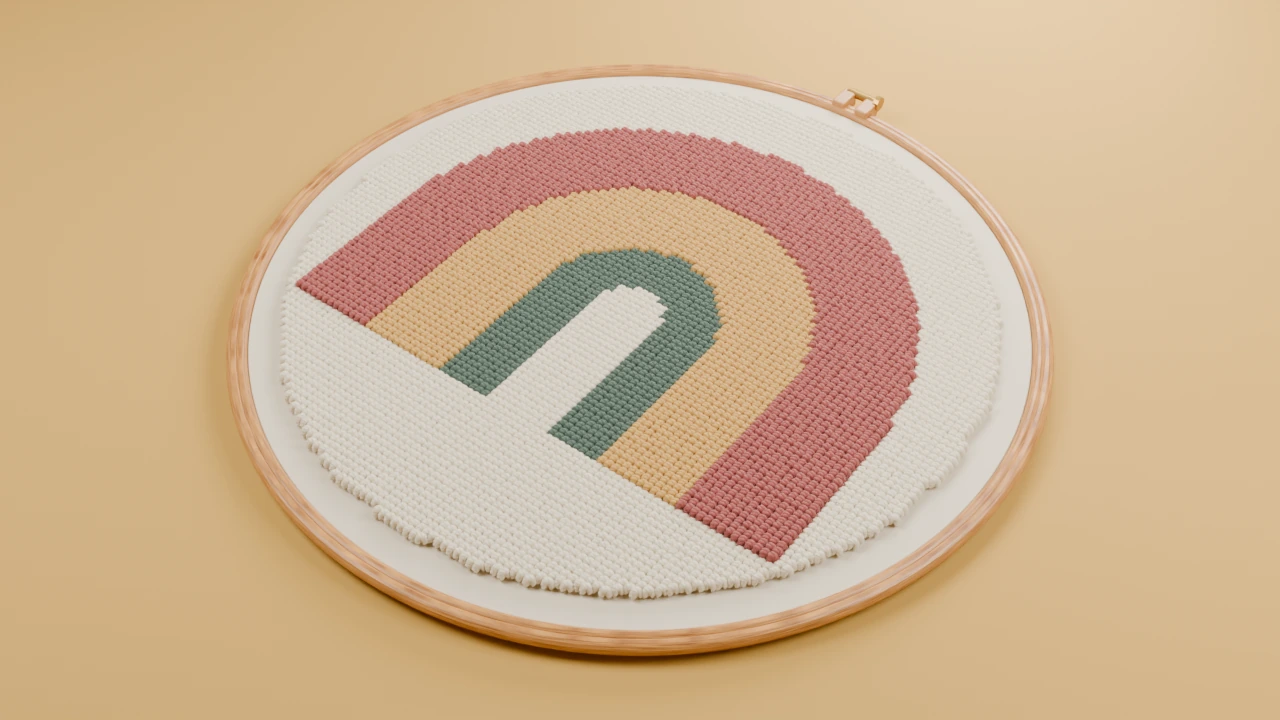
Muted rainbow
160 × 160 mm · 4 colours
Punch each curved band as a separate colour area. Work from the inner arch towards the outer arch.
Make this pattern →
Work a three-band rainbow with open space below its arch. Keep each band wide enough for your chosen needle and loop texture.
160 × 160 mm · 4 colours
Punch each curved band as a separate colour area. Work from the inner arch towards the outer arch.
Make this pattern →Use a yarn needle for a broad looped surface, or a fine embroidery punch needle for a smaller floss design. Match the needle and fibre to the foundation, then make a filled swatch in the spare margin. Compare the smallest feature in the printed template with that swatch.
Leave unpunched cloth around the design for mounting and finishing. Choose physical shades together; the lettered colour key helps you keep each colour in its region.
Print the PDF at actual size and measure its 50 mm ruler. Choose the mirrored working view for a looped front worked from the back. Trace the outline with a fabric-compatible pen, mount the cloth taut and punch the colour boundaries before filling the broad areas.
Keep fibre feeding freely and inspect the front after a few rows. Use a flat stitch for a facial mark or thin stalk that is too small for the selected looped setup.
A template becomes a different object when you change its dimensions and finishing. Gather a hoop picture at the back, fold and cover a coaster edge, or sew a panel into a pillow. Choose the object guide before cutting the foundation.