
Punch needle Christmas stockings
Make a 260 × 380 mm decorative stocking with a punched front, plain back, fabric lining and reinforced hanging loop.
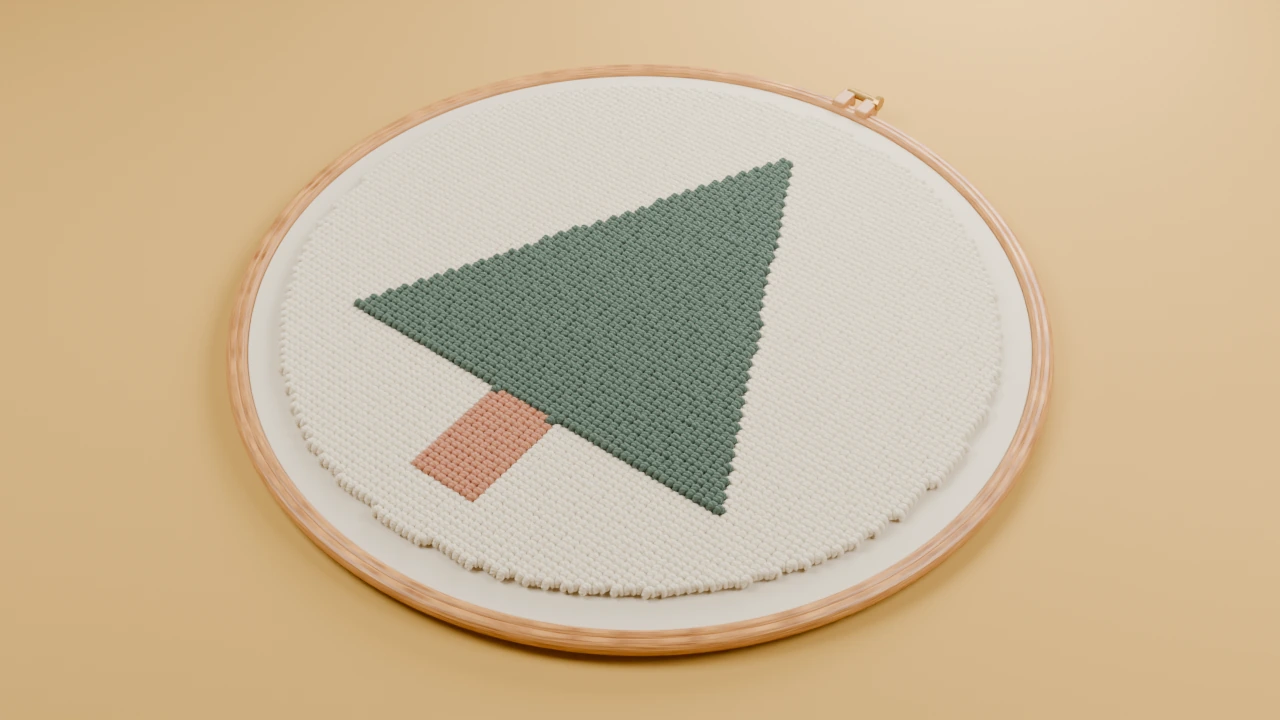
Template and size
260 × 380 mm finished boundary. Add mounting margins and the sewing allowance given in the steps.
Use the full-size cutting outline to plan the panel. Adapt the winter tree motif inside it, leaving the sewing allowance clear. For a fitted object, measure the actual item and resize the outline first.

Supplies
- Foundation and fibre for the stocking front
- Back and lining fabric, with 10 mm seam allowance
- Strong tape for the hanger and sewing thread
Keep a front-view paper copy and your fibre labels beside the frame. Use spare cloth to check the needle, fibre and foundation before beginning.
Make the project
Cut the pieces
Print and join the full-size outline. Punch the front inside the solid boundary. Add a 10 mm seam allowance when cutting one front, one reversed back and two lining pieces.
Decorate the front
Fit the tree design inside the ankle and foot. Keep the upper cuff clear if you plan to add a name. Do not punch into the sewing allowance.
Sew the shell and lining
With right sides together, sew the front and back around the sides and foot. Sew the lining pieces separately, leaving an opening for turning. Place shell and lining right sides together.
Finish the top
Place the hanging tape between the top layers with its ends inside the seam allowance. Sew the top, turn through the lining opening, close that opening and settle the lining inside.
Finish and care
Reinforce the hanging loop and check the top seam. Use the finished stocking for light decorative contents rather than relying on the punched yarn to carry weight.
Store flat with the lining dry. Choose cleaning from the complete yarn, cloth and lining combination.