
Punch needle rugs
Plan a small 500 × 300 mm hand-punched rug with a broad design, durable fibre and a bound edge.
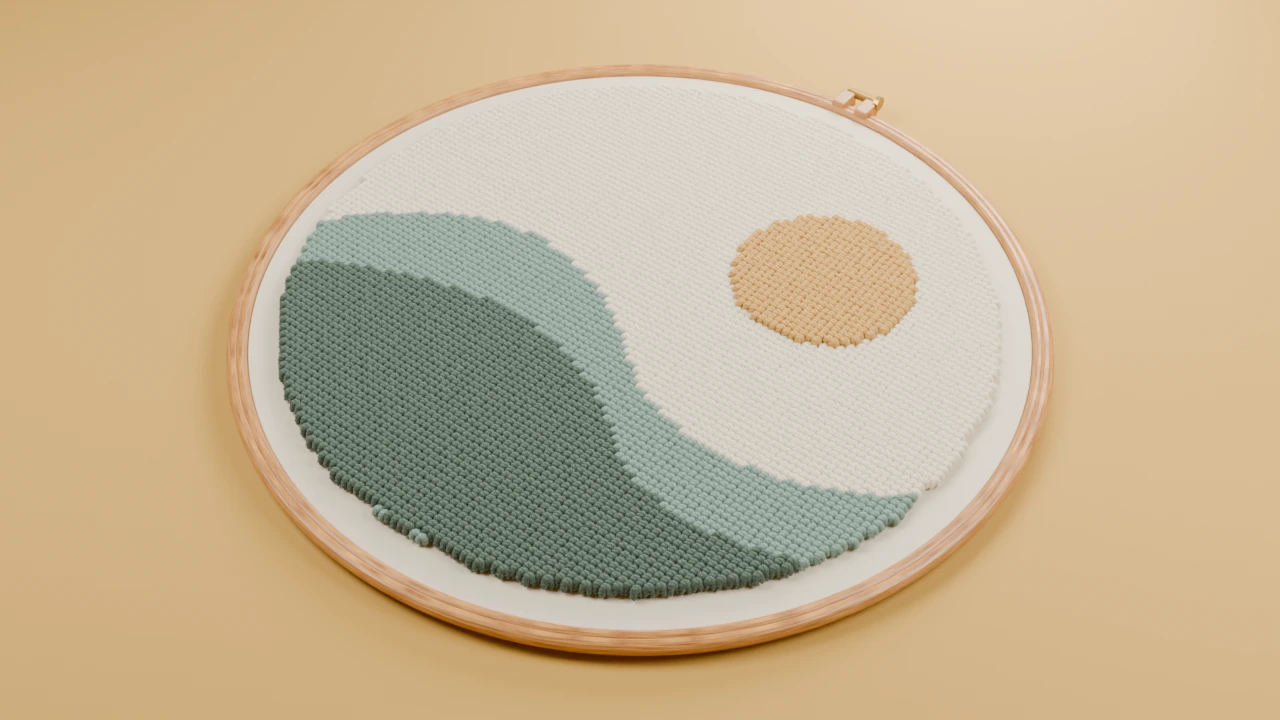
Template and size
500 × 300 mm finished boundary. Add mounting margins and the sewing allowance given in the steps.
Use the full-size cutting outline to plan the panel. Adapt the sun and hills motif inside it, leaving the sewing allowance clear. For a fitted object, measure the actual item and resize the outline first.

Supplies
- Rug yarn and its matching punch needle
- Rug-punching foundation and a firm frame
- Rug binding, sewing thread and a suitable floor-grip layer
Keep a front-view paper copy and your fibre labels beside the frame. Use spare cloth to check the needle, fibre and foundation before beginning.
Make the project
Scale the artwork
Fit a broad landscape inside the 500 × 300 mm rectangle. Print tiled sheets, check the ruler and join their registration boundaries before tracing. Leave mounting and binding margins.
Measure yarn
Fill a swatch using the chosen yarn, needle height and spacing. Measure its yarn use, then enter the rug area and colour shares in the yarn calculator.
Work and reposition
Punch in colour regions. When moving the foundation on the frame, keep its thread directions square and protect completed loops from the grippers.
Bind the perimeter
Fold and secure the spare foundation behind the rug. Sew binding over the raw edge so it cannot unravel into the punched field. Fit the finished piece to the floor-grip layer.
Finish and care
Set the rug flat and check its corners, edge flexibility and grip in the intended position before putting it into use.
Lift loose dirt gently. Avoid a rotating brush that can catch loop tops; use a cleaning method shared by the yarn and backing.