
Punch needle patches and clothing
Make a decorative punch needle patch separately, then attach its finished backing to a garment instead of forcing a large needle through unsuitable fabric.
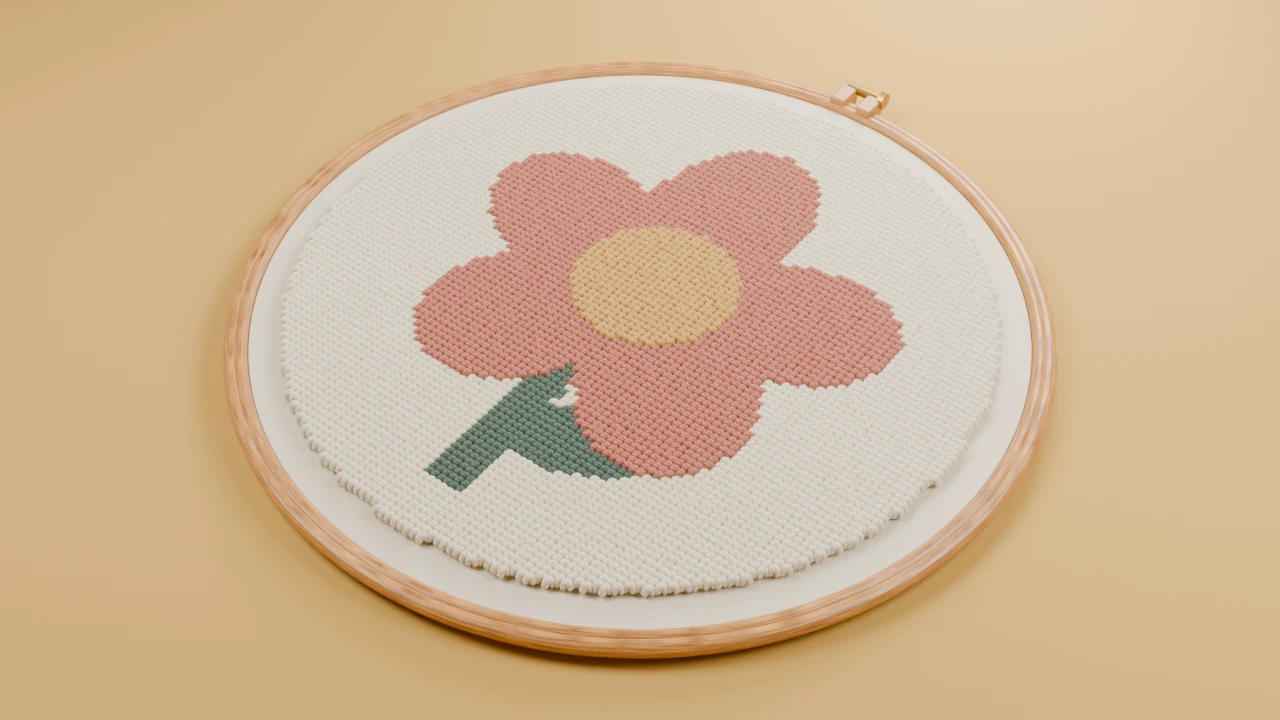
Template and size
80 × 80 mm finished design. Add mounting margins and the sewing allowance given in the steps.
Print the five-petal flower pattern at this size, then follow the making and finishing steps below.
Supplies
- Fine needle and matched foundation/fibre
- Thin backing and garment sewing thread
- A garment with an accessible, stable attachment area
Keep a front-view paper copy and your fibre labels beside the frame. Use spare cloth to check the needle, fibre and foundation before beginning.
Make the project
Size the decoration
Print an 80 mm motif and place the paper on the garment. Keep it away from zips, seams and areas that need to stretch.
Punch separately
Mount compatible foundation in a hoop. Complete the small motif, using flat stitches for details that are too small for looped fill.
Finish the patch
Fold the spare foundation behind the design and cover it with thin backing. Keep the edge smooth and the back free of knots.
Attach to the garment
Baste the patch in position. Sew around its backing edge, keeping the garment relaxed and not catching the visible loops.
Finish and care
Check that the decorated area still bends comfortably and does not pull the garment out of shape.
Use a cleaning method compatible with both garment and patch. Remove the patch first if their care requirements differ.