
Punch needle phone cases
Make a small decorative panel for the back of a removable phone case, fitted around its actual camera and control openings.
Template and size
60 × 100 mm finished boundary. Add mounting margins and the sewing allowance given in the steps.
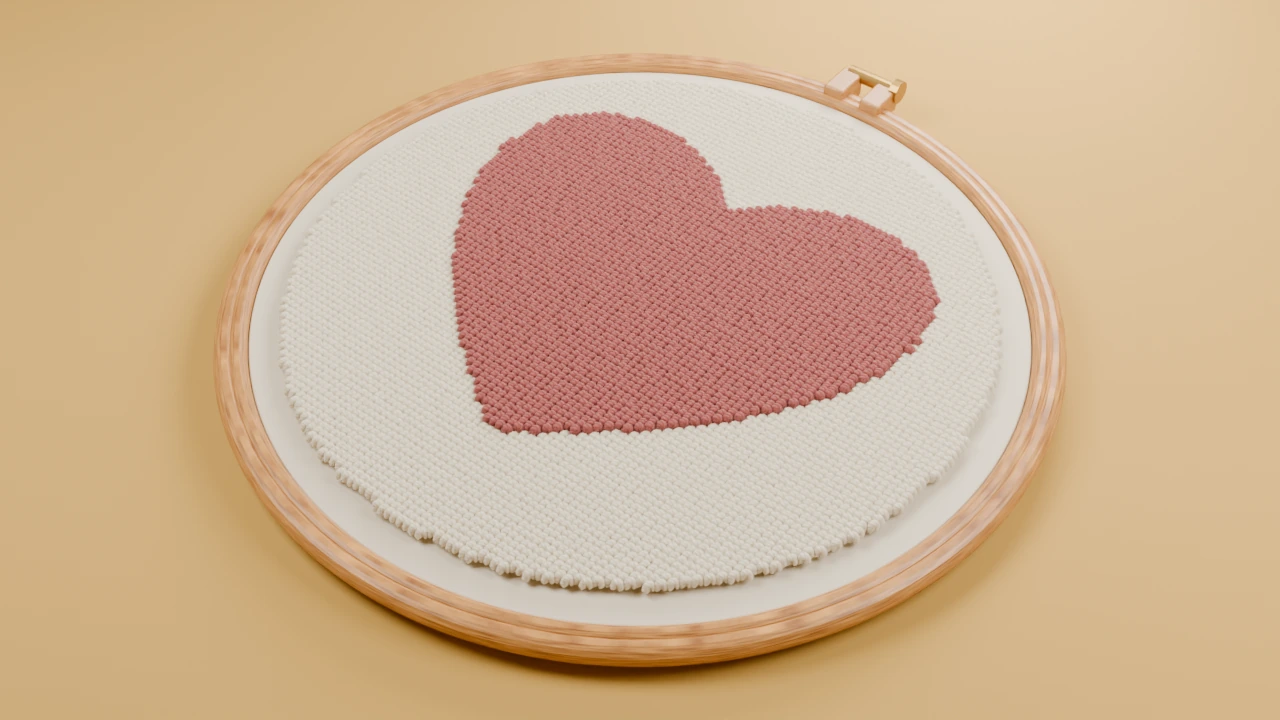
Use the full-size cutting outline to plan the panel. Adapt the soft heart motif inside it, leaving the sewing allowance clear. For a fitted object, measure the actual item and resize the outline first.

Supplies
- A removable case with space for a textile panel
- Fine low-profile punch needle materials
- Thin backing and attachment appropriate to the case material
Keep a front-view paper copy and your fibre labels beside the frame. Use spare cloth to check the needle, fibre and foundation before beginning.
Make the project
Trace the case
Remove the phone. Trace the usable back area and mark the camera, flash, ports and buttons. Resize the 60 × 100 mm template to fit that area.
Punch the panel
Use a low-profile design and keep the colour regions broad. Leave the camera and every functional opening outside the decorative panel.
Finish thinly
Fold the foundation margin and add thin backing. Keep all corners flat so the panel cannot peel up easily.
Fit without obstruction
Attach the completed backing using a method compatible with the case material. Let any attachment finish cure before replacing the phone.
Finish and care
Check the camera image, flash, buttons, ports and charging method after fitting. Remove the decoration if it interferes with any of them.
Remove the case before cleaning the textile. Keep moisture and adhesive away from the device.