
Punch needle bookmarks
Make a slim 35 × 140 mm bookmark with fine punch embroidery, a flat displayed face and thin backing.
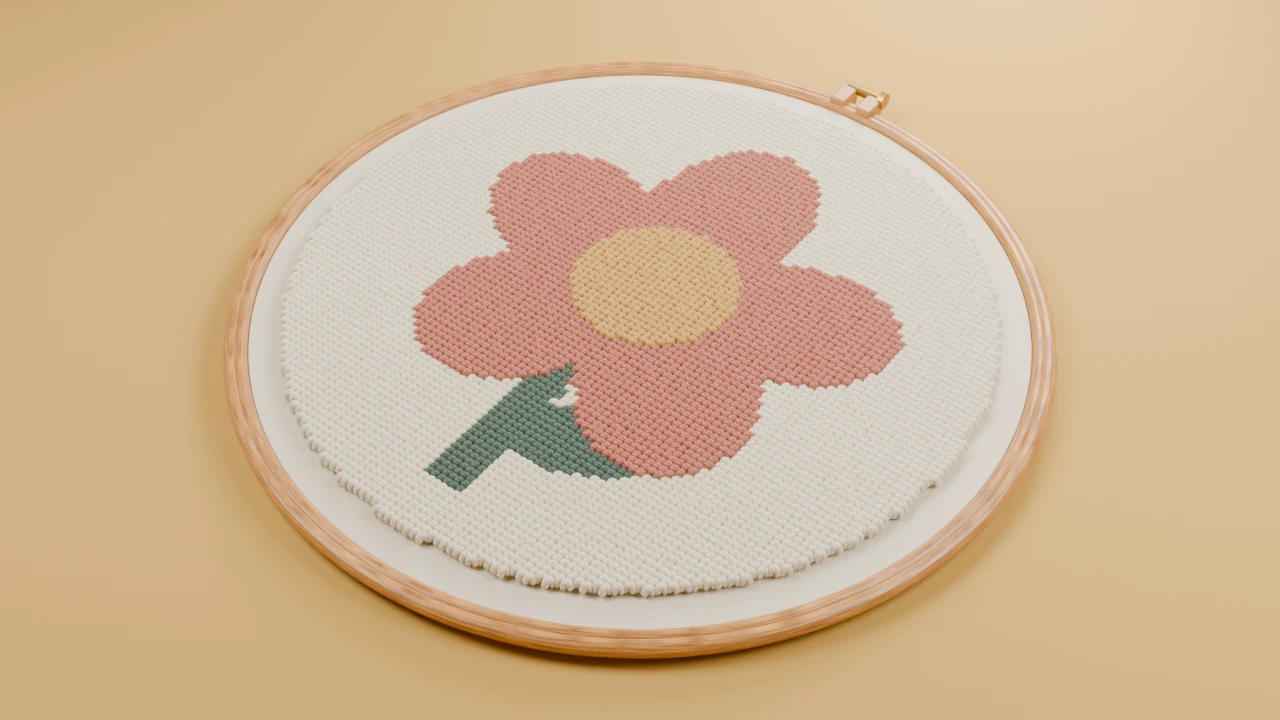
Template and size
35 × 140 mm finished boundary. Add mounting margins and the sewing allowance given in the steps.
Use the full-size cutting outline to plan the panel. Adapt the five-petal flower motif inside it, leaving the sewing allowance clear. For a fitted object, measure the actual item and resize the outline first.

Supplies
- Fine punch needle, floss and close foundation
- Thin felt or woven backing
- Sewing thread and optional ribbon
Keep a front-view paper copy and your fibre labels beside the frame. Use spare cloth to check the needle, fibre and foundation before beginning.
Make the project
Keep the design narrow
Print the bookmark rectangle. Simplify the flower to a stem and broad blossom, leaving clear space beside each edge.
Work the flat face
Trace the front-view design if the flat working side will face out. Use a short loop setting on the other side and keep the fabric taut.
Finish the long edges
Fold a small foundation margin behind the strip. Keep both long sides straight and the corners thin.
Cover the back
Sew on thin backing. Catch an optional ribbon between the layers at the top, reinforcing it without adding a hard knot.
Finish and care
Close a book gently over the bookmark and check its thickness. Keep bulk, hard beads and raised knots away from the pages.
Keep dry and store flat. Repair a fraying edge before it reaches the stitched design.